
Whether you are a professional photographer or just want to improve your social media posts, mastering the craft of taking a good self-portrait is a skill worth developing. So, stay with us to learn how!
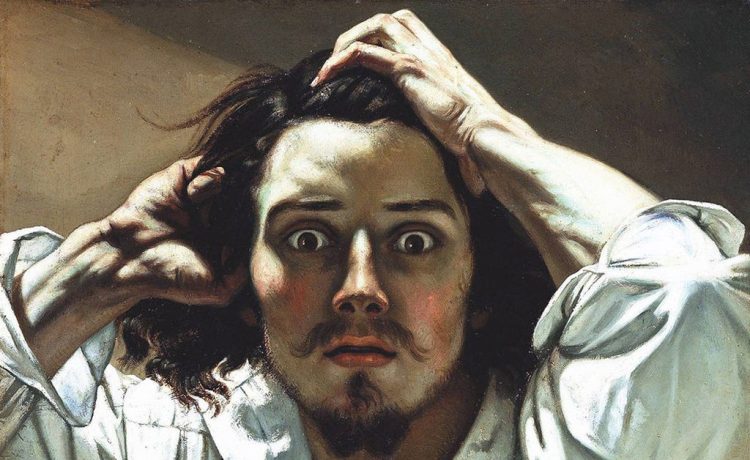
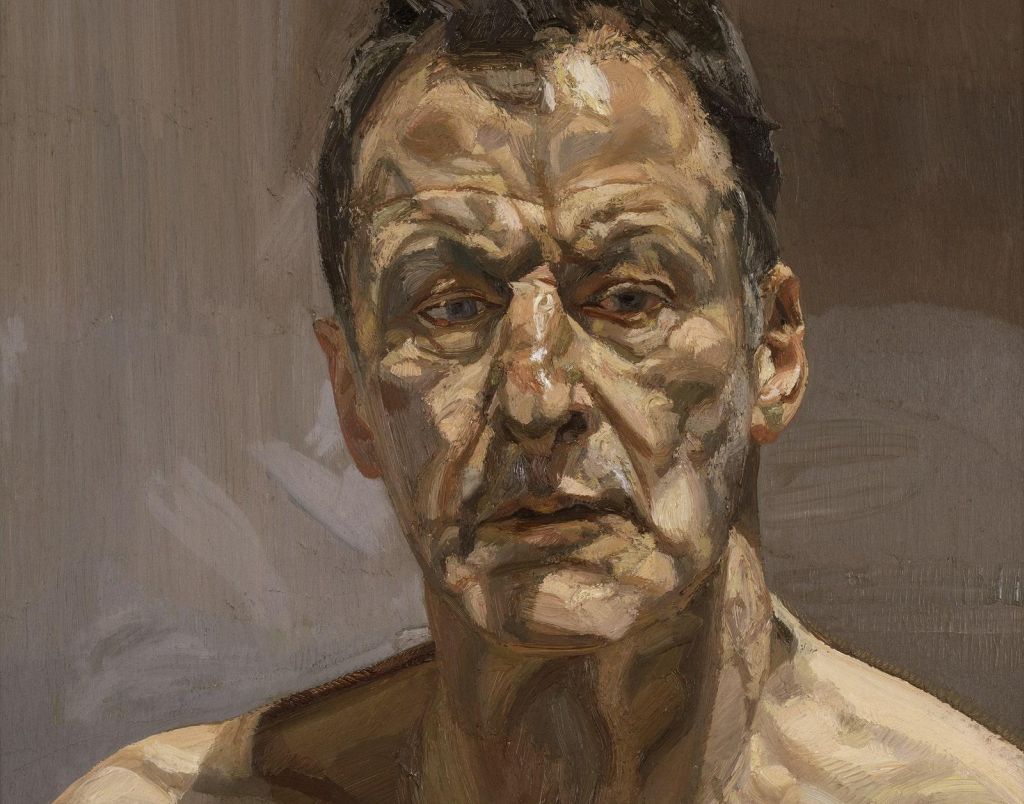
Self-portraits are a form of storytelling, in fact, they have been for centuries. Just remember Rembrandt’s masterpiece of self portrait, or intimate work by Frida Kahlo. These will remain classics, however, in today’s modern world with smartphones, this form of art is accessible to everyone.
In this article, we’ll guide you through the whole process of creating a self-portrait, from planning your shots to perfecting the post-production, we’ll cover it all. Without further ado, let’s learn how to take a good self portrait!
Why It’s Important to Master Self Portraits
Many think that taking a self-portrait is pretty straightforward – you just smile, snap, and that’s it, right? Well, not quite. A good self-portrait requires more technique and thought than a classic selfie. Here are a couple of reasons why it’s worth mastering this type of art:
- Self-expression: Your self-portrait reflects your story and personality.
- Skill-building: Learning this technique helps you get a deeper understanding of composition, lighting, and editing, which are essential components for any photographer.
- Artistic Tradition: From classic self-portrait oil paintings to modern digital photography, this medium has always celebrated identity and creativity.
Now that you understand why self-portraits matter let’s get into the steps of creating a good one!
How to Take a Good Self Portrait
Planning
For starters, it’s crucial to plan your vision since every good self-portrait begins with an idea. Think about what story or emotion you want to convey through your photo. Do you envision a playful and vibrant close-up or a moody black-and-white image? Perhaps an artistic homepage inspired by some famous self painting work? It’s essential to have a strong concept that will guide your choices throughout the whole project.
How to Plan a Good Self-Portrait
- Create a Mood Board: Pinterest is a great platform to gather inspiration.
- Choose Your Location: Think of a cozy corner in your apartment, an urban rooftop, or a natural setting in nature.
- Consider Styling or Props: Hats, painted canvases, or mirrors will elevate your self-portrait and add complexity to it.
Putting the extra effort into planning ensures your final product aligns with your vision.
Importance of Natural and Artificial Lighting
Lighting is, without a doubt, the most crucial factor of any photograph. Proper lighting affects your mood, features, and overall composition.
Tips for Natural Lighting
- Golden Hour: Everybody knows that golden hours is the time when is the best lighting of the day (shortly after sunrise or a little before sunset). Make sure to get your shot during this period of the day for the best results.
- Window Light: If you need natural light, position your camera near a large window.
- Avoid Overhead Lighting: Overhead lighting can create shadows that will ruin your photo. It’s always wise to choose side lighting instead.
Options for Artificial Lighting
- Ring Light: This is an absolute superstar among influencers due to its ability to illuminate the face evenly and reduce shadows.
- Softbox Lights: Investing in softbox lights will offer a studio-quality effect to your photography.
- Experiment with Creative Lighting: Use neon signs, fairy lights, or any colored lights to add a unique touch to your shot.
Setting Up Your Camera
Gear Essentials
We recommend getting a tripod and a remote shutter or timer. A tripod frees your hand and gives you stability. However, if you don’t have one, get creative and stack up with books to get the same effect!
On the other hand, a remote shutter allows you to take photos without touching the camera. You can also set a timer with enough time to strike your pose.
Camera Setup
- Background Blur: Use a large aperture on your DSLR to blur the background and emphasize your face.
- RAW Format: Shooting in RAW format will ease the editing process.
- Manual Settings: Experiment with aperture, ISO, and shutter speed to achieve your wanted aesthetic.
Striking a Pose
The key to a perfect self-portrait lies in the subtlety of your pose. You want to go for a natural, relaxed look. So, here are some tips for striking a good pose.
Posing Tips
- Angles do Matter: It’s crucial to fin the most flattering angle. For example, try positioning the camera above your eye level.
- Include Your Hands: Include your hands in the frame. Try resting them on your face, holding a prop, or playing with your hair.
- Practice in Front of a Mirror: Spend some time testing poses you like in front of a mirror until that movement feels natural to you and you feel comfortable.
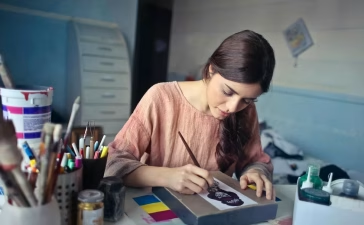
Post-Processing
When it comes to editing, this is where your self-portrait really comes to life, however, it’s important not to overdo it. Let’s talk about how to edit your photo like a pro.
Editing
- Basic Adjustments: Softwares like Adobe Lightroom or Snapseed are great for adjusting brightness, contrast, and saturation.
- Remove blemishes: Remove small blemishes for cleaner results, but be careful not to over-smoot the skin.
- Add Filters: Filters will add a great touch to your photo but should not overshadow the final result.
Final Reflections
Self-portraits are a great way to express yourself! Mastering this art will require a combination of creativity and knowledge. From planning to striking a pose and finally editing your shot, each step is an opportunity to refine your skills.
Now go grab your camera because your masterpiece is waiting!
